Setting Up a Private VPN Server with Linode and IPsec

Author
Erdi KöseIn countries like Turkey, internet users frequently face restrictions such as bandwidth throttling and access blocking. Setting up your own private VPN server is one of the best solutions to overcome these limitations and protect your personal data. In this guide, we will show you step-by-step how to easily set up your own VPN server on Linode using the IPsec protocol.
Advantages of Setting Up Your Own VPN Server
- Bypass Censorship: Easily overcome government-imposed internet restrictions and bandwidth throttling.
- Privacy and Security: Your internet traffic will be encrypted, ensuring your data is not shared with third parties.
- Performance: You have full control over your server, ensuring optimal connection speed and bandwidth.
- Access Country-Specific Pricing: Use VPN to access app stores from different countries and benefit from regional advantageous pricing.
- Access Regional Content on Platforms Like Netflix: Watch content that is not available in your country on platforms like Netflix using your own VPN server.
Requirements
- A Linode account (If you don't have one yet, register here).
- You should be logged into your Linode account.
Step-by-Step IPsec VPN Server Setup
1. Installing IPsec VPN Using StackScript
Click here to go to the Linode StackScript page.
You'll see a screen like this:

Click the Deploy New Linode button. You will see fields to set your IPsec and server passwords.
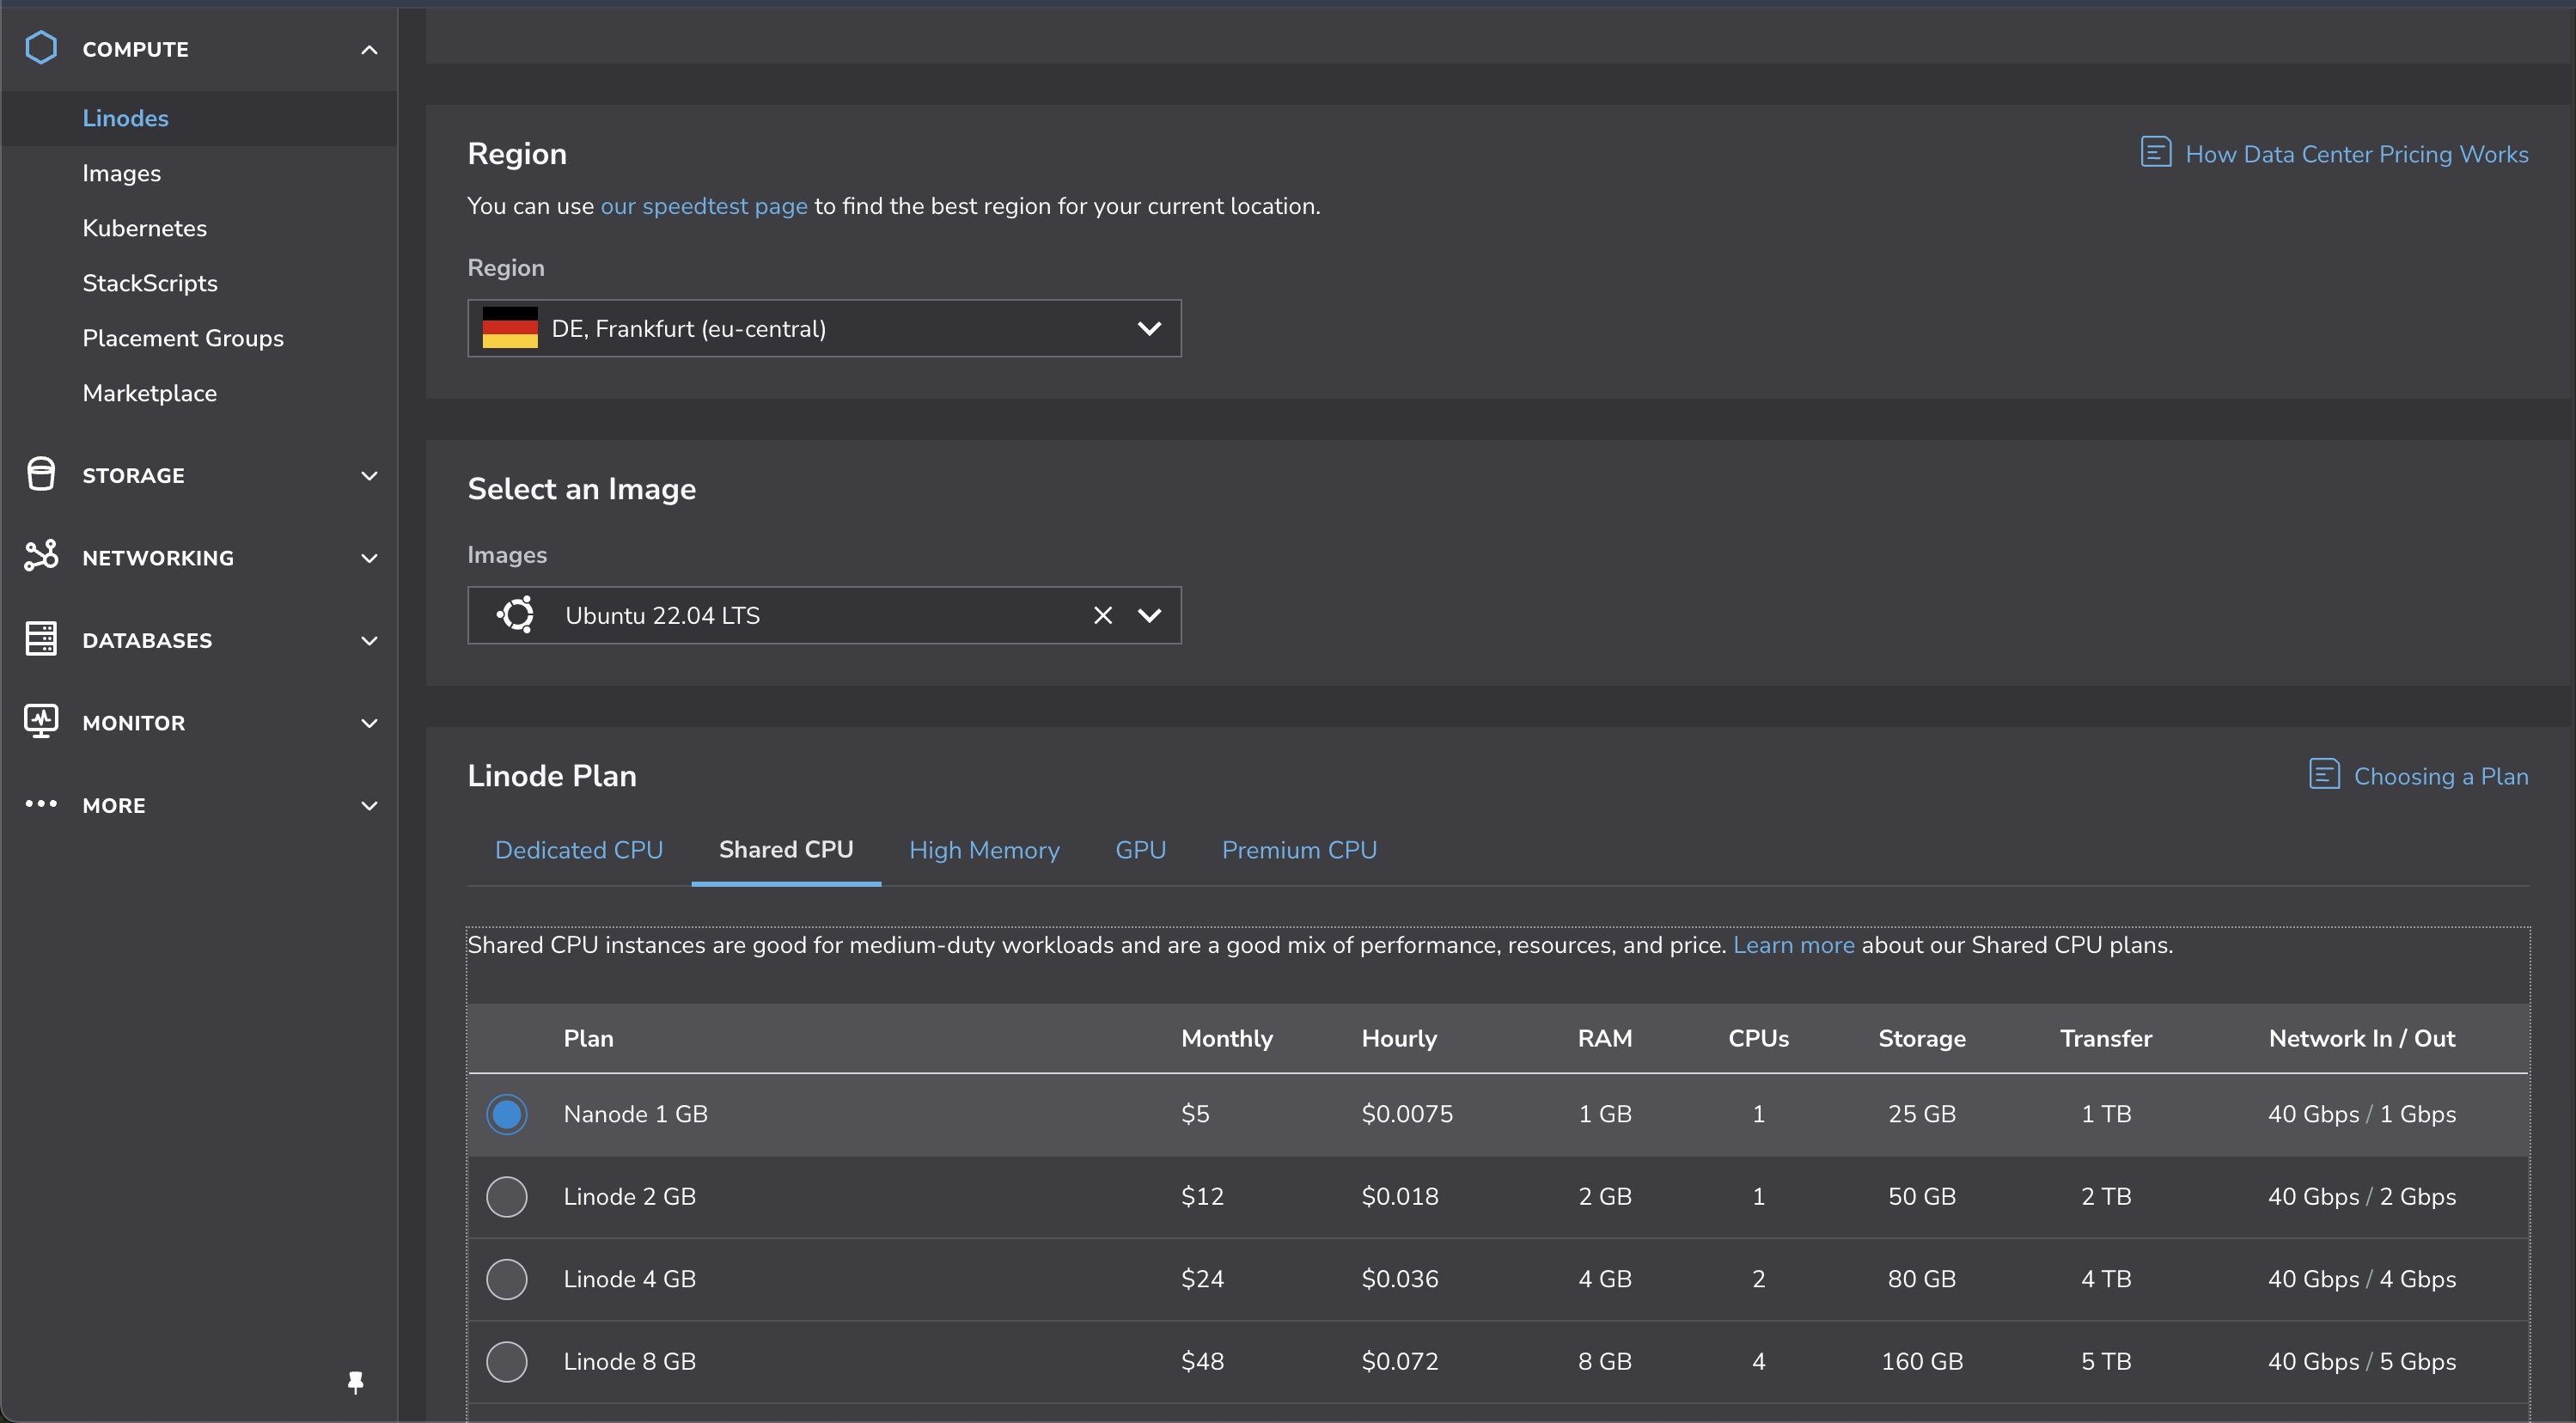
- Fill out the setup-ipsec-vpn Setup section as desired, but make sure you securely store the information you enter.
- In the Region section, choose a server location (Frankfurt is recommended due to proximity to Turkey).
- Under Select an Image, choose Ubuntu 22.04.
- Select the lowest Linode Plan, the $5 Nanode 1 GB option.
- In the Security section, set a strong password for your server and save it.
- Finally, click the Create Linode button and wait for your server to be created.
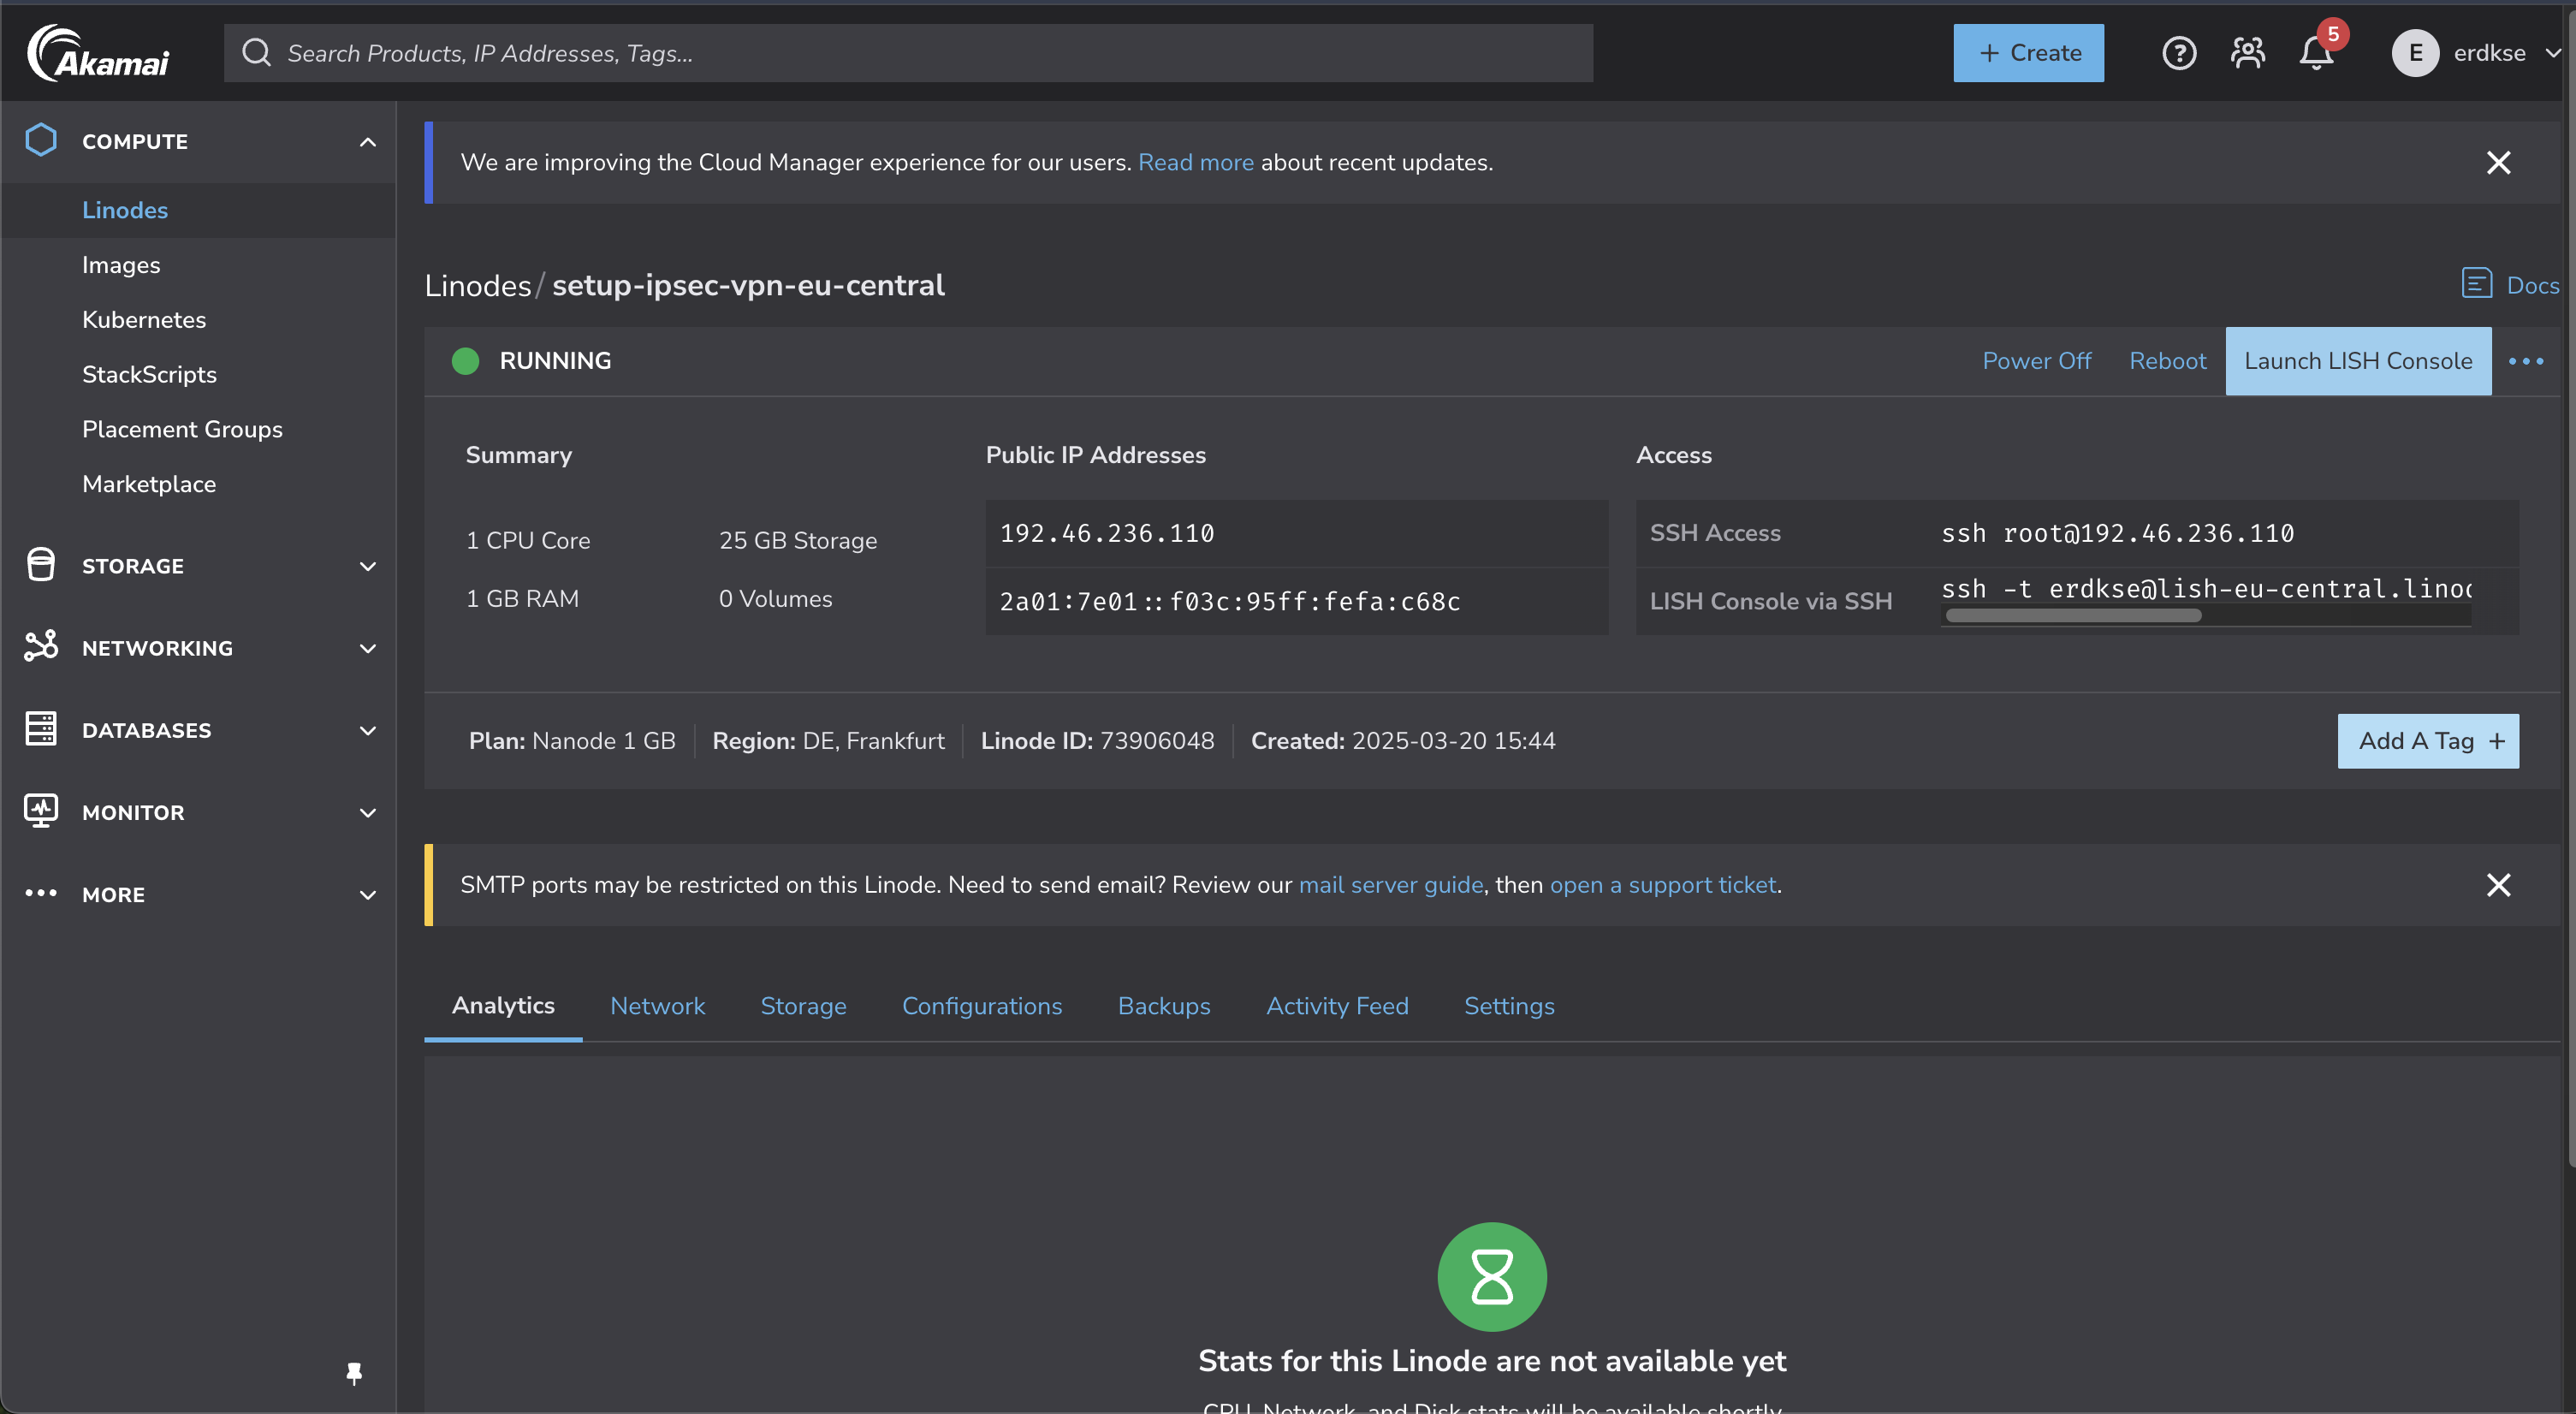
2. Connecting to the Server
Once your server is created, click the Launch LISH Console button in the Linode panel. The console screen will be ready within a few minutes. Wait until you see the following prompt:
localhost login:
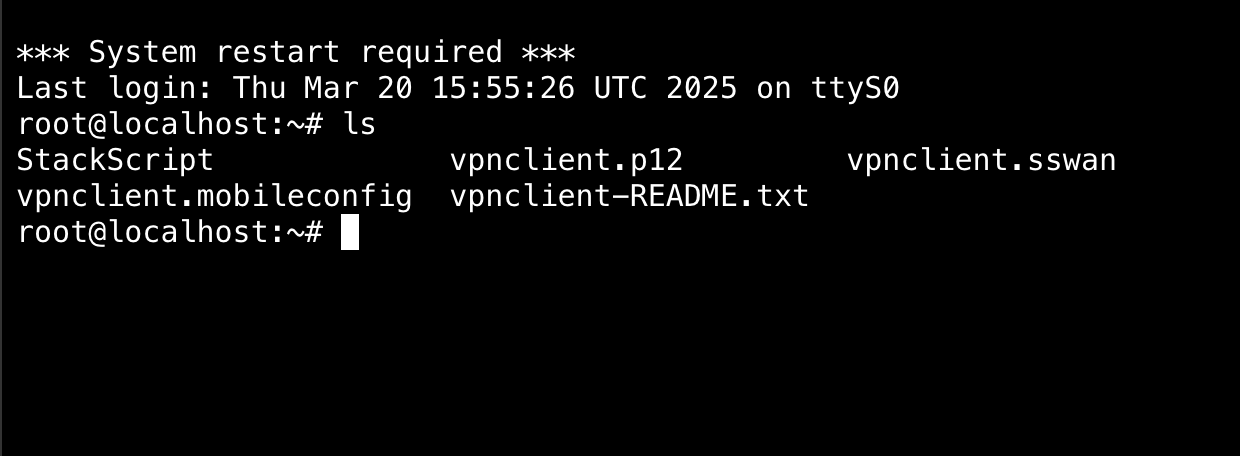
Enter root as the username and press enter. Then enter the server password you set and press enter again.
After logging in successfully, run the following command to view your VPN connection details:
ls
You'll see the file containing your VPN server connection information.
Downloading Necessary Files
Run the following command on your server:
python3 -m http.server 8000
This command temporarily hosts your files on the internet to facilitate downloading.
Visit http://SERVER_IP:8000, download the required file according to the usage guide, then return to the terminal and stop the server by pressing ctrl + c. Ensure the server is stopped by revisiting http://SERVER_IP:8000 and confirming nothing is displayed.
Connecting Your Devices to the VPN Server
- VPN setup guide for Windows devices
- VPN setup guide for macOS devices
- VPN setup guide for iPhone devices
- VPN setup guide for Android devices
Conclusion
You have now successfully set up your own IPsec VPN server on Linode. This solution allows you to bypass internet restrictions in countries like Turkey, ensuring your personal data is secure while you enjoy a free and safe internet experience. Happy browsing!
For more information, visit https://github.com/hwdsl2/setup-ipsec-vpn.